Contents
Hey there! If you love crochet beavers or quick crochet projects, this post is for you!
This post has been a long time in the making.
It all started back in October. The boys’ birthdays are exactly one month apart (I/we made it very easy on my husband!) so we decided to do a joint birthday for them since they’re still little and won’t mind it right now.
And in all of my wisdom, I invited C’s whole preschool class (16 kids) plus other family/friend’s kids and then decided to MAKE the party favors.
Yeah, I was WAY too ambitious and overconfident!
Oh and not only was I making these favors, I was also designing them.
I know.
I’m hoping that I will learn from this, but I won’t be surprised when I bite off more than I can chew again this year. Probably sooner rather than later, but I digress…
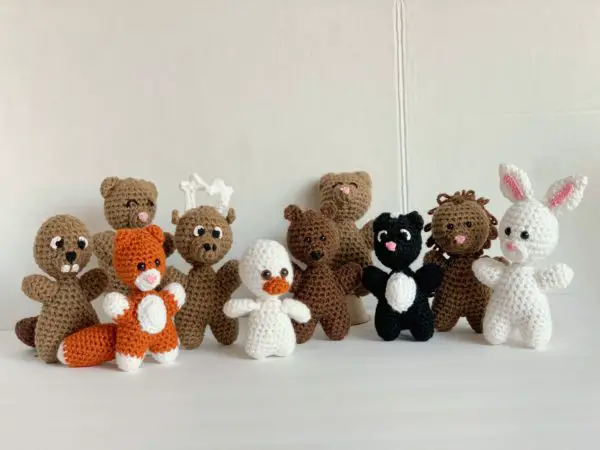
So I jumped in with both feet and designed 11 different woodland animals. Yes. ELEVEN. Again, way too ambitious. And I had planned to make two of each to have enough for all of the kids.
But of course I didn’t stop there. I also decided to make small tents and a tee pee since it was a camping/outdoor theme for the party. I seriously need someone to stop me sometimes!
But if you’re here, I’m betting you’re here for the woodland critters!
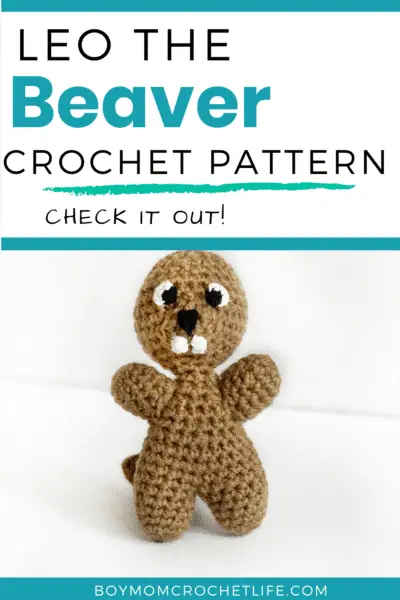
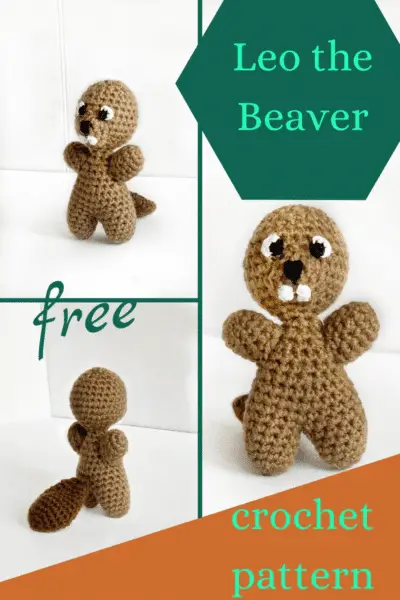
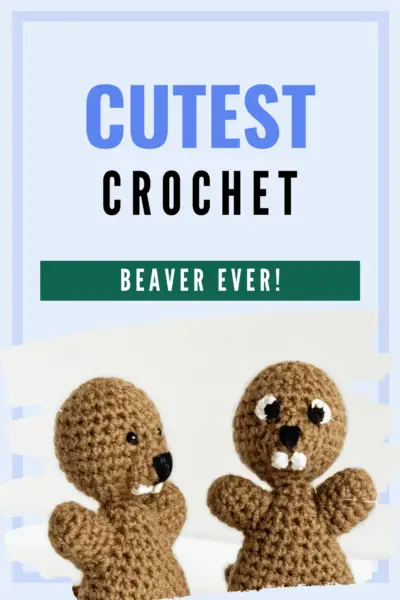
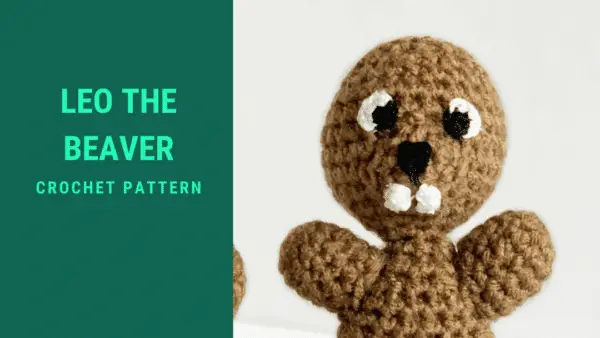
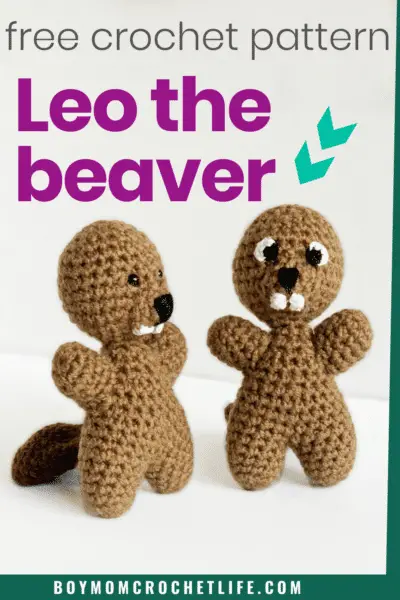
This week I’m sharing the first one that I designed. And he’s a cutie! This adorable little beaver (C named him Leo), was fun to make and it didn’t take too much time or yarn. He also has the legs, body and head as one piece, which cuts down on the amount of sewing and weaving in of ends that are needed to make each animal, which I LOVE!
And he doesn’t use much yarn and works up pretty quickly, too, (as long as you’re not trying to make a ton of them in a very short period of time!) so he makes for a great quick crochet project!
And yes, I will be sharing the other ten patterns over the next ten weeks, so if you love woodland critters, bookmark this page and check back every Friday!
Some of the links in this article are “affiliate links”, a link with a special tracking code. This means if you click on an affiliate link and purchase the item, I will receive an affiliate commission. The price of the item is the same whether it is an affiliate link or not. Regardless, I only recommend products or services I believe will add value to you. I hope these links are as helpful as possible for you!
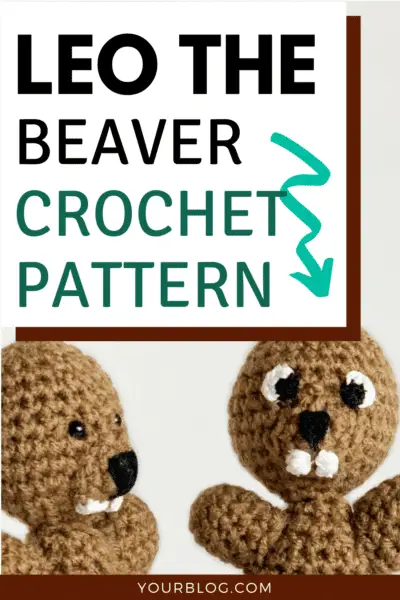
Woodland Critter #1- Leo the Beaver Crochet Pattern
Rather have a PDF? You can snag a low cost PDF on Ravelry!
Skill Level: Easy
Yarn and Hook Size
38 yards A) Red Heart Super Saver in Café Latte (364 y/333 m per 7 oz/198.5 g skein); 100% acrylic, worsted weight (#4) yarn
10 yards B) I Love This Yarn in Brown (355 y/324.6 m per 7 oz/198.5 g skein); 100% acrylic, worsted weight (4) yarn
<1 yard C) Coats and Clark Cotton Embroidery Floss in Black (8.75 y/8 m); 100% cotton
<1 yard D) Coats and Clark Cotton Embroidery Floss in White (8.75 y/8 m); 100% cotton
2.0 mm crochet hook (for crocheted eyes and nose)
Notions
- Tapestry needle
- Stitch marker
- Scissors
- Fiber fill
- Eye solution of choice: safety eyes (6 mm or 8 mm) or embroidered or crocheted eye
Measurements and Gauge
Finished measurements are 5.5 inches tall by 3.5 inches wide by 4 inches front to back. The gauge is 4 stitches and 4 rows equals 1 inch.
Abbreviations
ch chain
dc double crochet
dec decrease
inc increase
MR magic ring
Rd round
rep repeat
sc single crochet
sl st slip stitch
() denote a group of stitches worked in the same stitch
[] denote a group of stitches that repeats as many times as directed
Instructions
Note: Most pieces are worked in continuous rounds (those that are not are noted as such). You will only need one stitch marker to mark the first stitch of each round, moving it to the first stitch of each new round.
Legs/Body/Head
Using A
Rd 1: Create MR, ch 1, sc 6 (6)
Rd 2: inc 6 (12)
Rds 3-6: sc 12 (12)
At this point, fasten off the first leg and weave in ends. Repeat Rds 1-6 for the second leg, but DO NOT fasten off the second leg. Weave in starting end and continue as follows:
Rd 7: sc 6 on first leg, beginning in first stitch of the last round of the first leg, sc 12, sc 6 on second leg (24)
Rds 8-10: sc 24 (24)
Rd 11: [sc 2, dec], rep [] five more times (18)
Rds 12-13: sc 18 (18) Stuff legs with fiber fill
Rd 14: [sc, dec], rep [] five more times (12)
Rd 15: sc 12 (12) Stuff the rest of the body with fiber fill
Rd 16: dec 6 (6)
Rd 17: sc 6 (6)
Rd 18: inc 6 (12)
Rd 19: [sc, inc], rep [] five more times (18)
Rd 20: [sc 2, inc], rep [] five more times (24)
Rd 21: [sc 3, inc], rep [] five more times (30)
Rds 22-23: sc 30 (30) If using safety eyes, add in row 23 in stitches 15 and 18
Rd 24: [sc 3, dec], rep [] five more times (24)
Rds 25-26: sc 24 (24)
Rd 27: [sc 2, dec], rep [] five more times (18)
Rd 28: [sc, dec], rep [] five more times (12) Stuff the head with fiber fill
Rd 29: dec 6 (6)
Arms (Make 2)
Using A
Rd 1: Create MR, ch 1, sc 6 (6)
Rd 2: inc 6 (12)
Rd 3: sc 12 (12)
Rd 4: [sc 2, dec], rep [] twice more (9)
Rds 5-6: sc 9 (9) Stuff with fiber fill
Fasten off and leave a 6 inch tail to sew onto body
Muzzle
Using A
Rd 1: Create MR, ch 1, sc 7 (7)
Rd 2: sc 2, (sc 3), sl st, (sc 3), sc 2 (11)
Fasten off and leave a 6 inch tail to sew onto head
Nose
Using C
Rd 1: Create MR, ch 3, dc 3
Fasten off and pull MR as tight as possible, putting a knot in the thread to keep the MR tight. Leave 6 inch tail to sew onto muzzle.
Teeth (make 2)
Using D
Ch 4
Row 1: Starting in 3rd ch from hook, dc 2 (2)
Fasten off and leave a 6 inch tail to sew onto face. Weave in starting end.
Tail
Using B
Rd 1: Create MR, ch 1, sc 6 (6)
Rd 2: inc 6 (12)
Rd 3: [sc, inc], rep [] five more times (18)
Rd 4: [sc 2, inc], rep [] five more times (24)
Rds 5-6: sc 24 (24)
Rd 7: [sc 2, dec], rep [] five more times (18)
Rds 8-9: sc 18 (18)
Rd 10: [sc, dec], rep [] five more times (12)
Rds 11-12: sc 12 (12)
Rd 13 dec 6 (6)
Fasten off, leaving a 6 inch tail to sew onto body. Press flat
Crocheted Eyes (make 2 if using)
Using C and a 2.0 mm crochet hook
Rd 1: Create MR, ch 1, sc 6 (6)
Insert hook into top of first sc as if to sl st and yarn over with D
Rd 2: inc 3 (6) NOT A FULL ROUND
Fasten off and leave a 6 inch tail of each color to sew onto head
Tip: see the Crochet Eyes for Amigurumi post for pictures on how to make the eyes if you have questions! Or feel free to drop me a line!
Assembly
Sew the arms onto the body from row 11 to row 14, straight on the side of the body.
Sew the muzzle onto the head, in the middle of the face from row 18 to row 22.
If applicable, sew eyes onto the head, from row 22 to row 24, centered around the muzzle with two stitches between the eyes when eyes are sewn on.
Sew the nose onto the muzzle with the bottom tip of the nose in the center of the magic ring of the muzzle.
Sew the teeth onto the muzzle below and on each side of the tip of the nose.
Sew the tail onto the body, centered on the back from row 8 to row 11. Be sure to sew it on extra securely, as it can be quite heavy.