
Contents
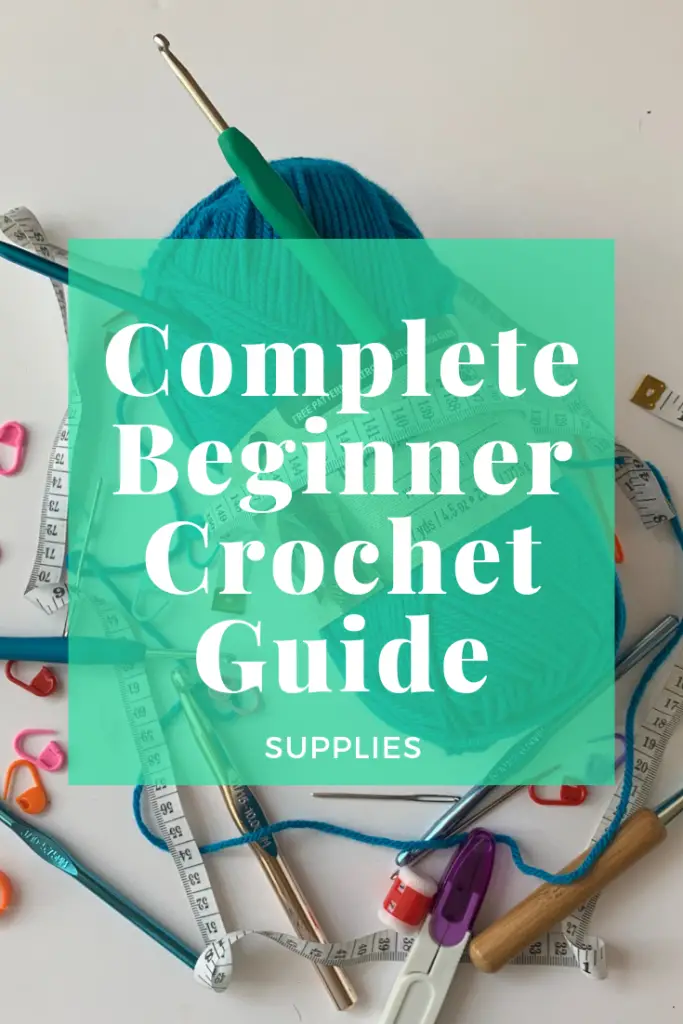
Hi there, welcome to Boy Mom Crochet Life’s Complete Beginner Crochet Guide! Have you been wanting to try out crocheting but just don’t know where to begin? It can be daunting to search Pinterest or Youtube for tutorials on how to get started. There is so much information out there, but sometimes you have to dig through a bunch of posts or videos that seem way more advanced and start to scare you that you can’t do it.
Well, I’m here to tell you, you absolutely can! Lots of people are teaching themselves how to do all sorts of things these days, but finding nice bite size pieces that you can easily refer back to can be a challenge. In addition, not everyone learns in the same way! That’s why I decided to create this beginner crochet guide. It includes written instructions, pictures that go along with the instructions, as well as video tutorials (coming soon, so check back!). It’s my hope that I can help ANYONE learn the fascinating art of crochet. So let’s get to it!
Before you can begin learning how to crochet, you need to have some supplies on hand. That’s what I’m going to discuss today.
Yarn
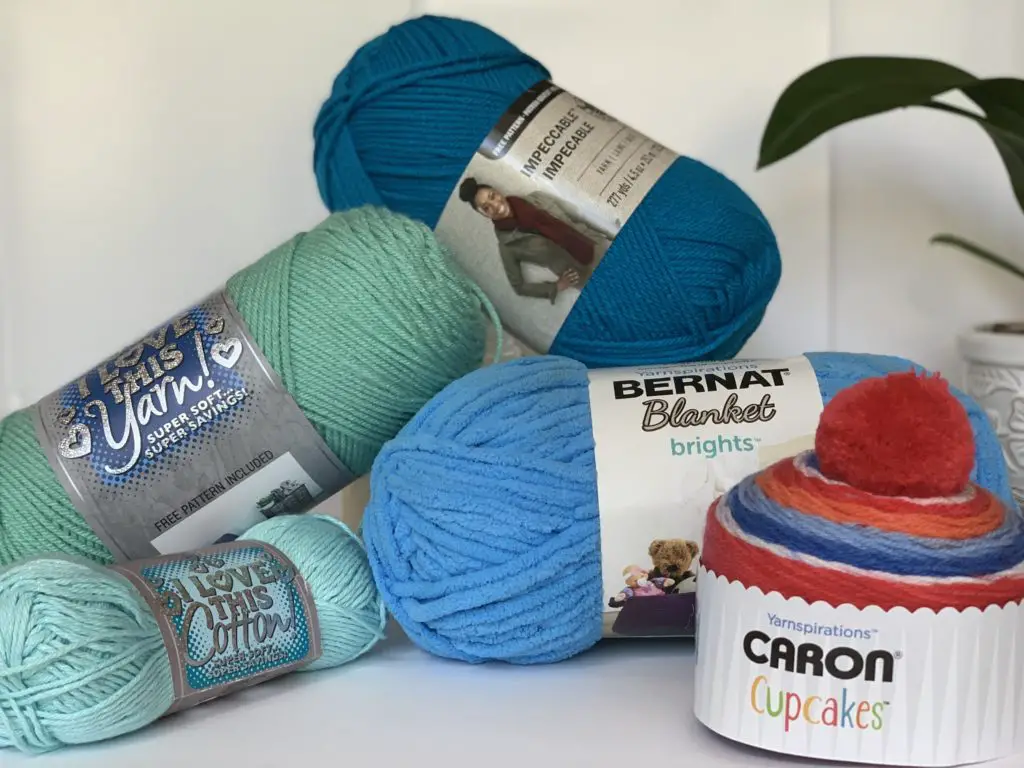
The first thing that you are going to need is yarn. While it seems simple at first, once you step into a craft or yarn store, it can get pretty overwhelming. There are TONS of different types of yarns, and if you’re like me, you may want to choose a yarn based on the color rather than the material or size. While your color choice is important- you do want to love your finished item, after all- the first thing to look at is the size of the yarn.
Yarn size is listed on the label with a number 0-7, starting with the finer, lace weight yarns at 0 and ending with the currently trendy jumbo yarns at 7. In between, there is super fine, also known as sock or fingering weight (1); fine, also known as sport weight (2); light worsted or DK (3); worsted or aran (4); chunky or bulky (5); and super bulky, super chunky, or roving (6).
When you’re first starting out, it may seem like using one of the larger yarns would be a good idea, but these yarns have a tendency to shed and make the stitch itself harder to see (in other words, they could have a bad stitch definition).
So now that you know the weight, let’s talk about the different materials of yarn.
Acrylic
The most easily accessible to the most people, and the most price conscious, would be an acrylic yarn. These yarns are made of plastic, so they’re cheap. Some can be kind of scratchy at first, but they eventually soften up. I’ve also found some, like Hobby Lobby’s I Love This Yarn, that feel much softer.
Cotton
Cotton yarns can also be decently priced and are wonderful options for wearables or bags, but can be a bit harder to work with. Like acrylics, they can be a tougher texture or feel silky smooth, it just depends on the brand.
Wool
Wool yarns are a wonderful idea for cold weather items, such as hats or sweaters, but do come in at a higher price point. However, there are several options out there for wool/acrylic blends which keeps some of the appearance and feel of the wool, but lowers the price point.
Others
Then there are the luxurious yarns: the silks, the alpacas, the mohairs. These can be wonderously sumptuous yarns, but they definitely have a price to reflect their luxury status and can be more slippery, which can be a challenge to work with.
With all of these options, most experienced crocheters would recommend that a beginner start out with a worsted weight (4) acrylic yarn in a light color, so that you are better able to see your stitches. Some more economical brands for a beginner crocheter include
Hooks
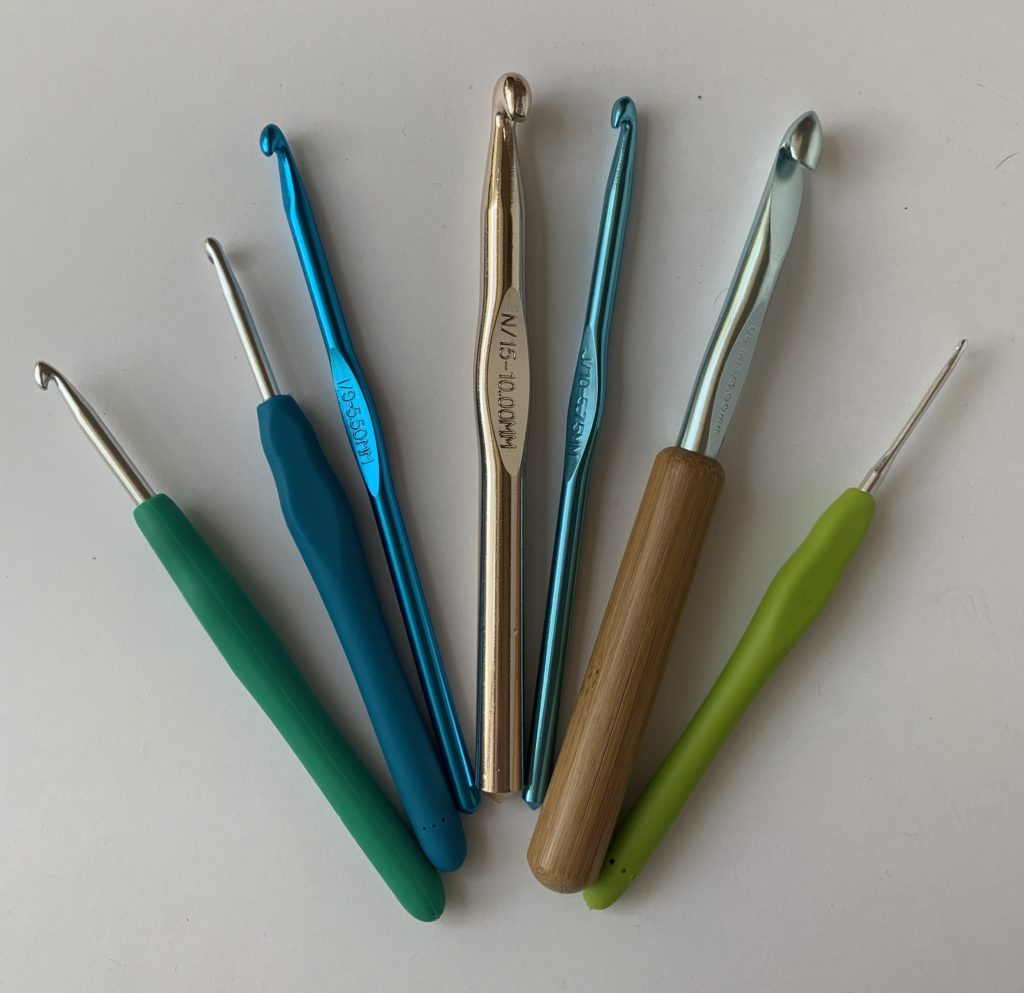
So now that you know about the yarn, let’s move on to the hook. The hook I started out with, and probably the one that most people did, would be a Boye hook. They are aluminum hooks, with a small grip space and are colored-coded for size. The aluminum slides nicely through your work without catching too much. And bonus, these hooks are pretty easy on the wallet, so if you decide crocheting is not for you, or if life just happens and keeps you from getting back to it for a while, you don’t have to feel guilty!
If you are at the point where you have decided you really enjoy this hobby, awesome! There are some upgrades that you may want to make on your hooks. While my great grandmother used her Boyes up until she couldn’t crochet any more, there have been some advances that make things easier on us. Ergonomic hooks are widely available and are great at reducing strain on your hands and wrists after long crochet marathons.
I found
They aren’t any sort of name brand as far as I can tell, but they definitely get the job done. For the top of the line hooks, I believe most crocheters would tell you to go with the Clover Amour hooks. Everyone I have seen that uses them swears by them, so they could be a great option if that’s what works for you. If you do decide to go that route, keep an eye on them at craft stores and online; sometimes you can get them for a steal!
My beginner crochet recommendation? Boye. If you are sure you’re going to stick with it, go to Amazon and find a set you like, like I did. They’re a pretty good buy, too, just a little more costly than a
Notions
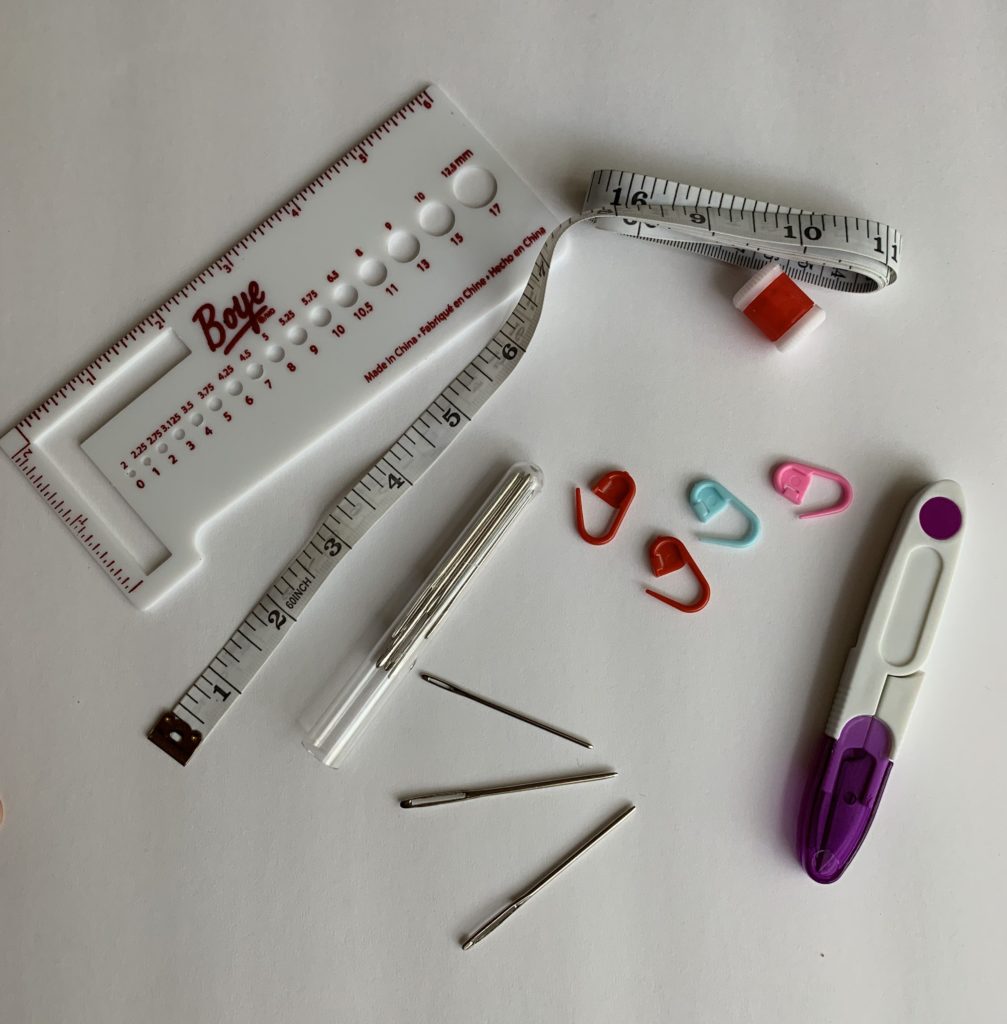
Notions are all the little odds and ends that you need to really finish your project but aren’t the main focus of the practice of crochet.
Tapesty Needle
You will need a tapestry needle to finish off your work by weaving in your ends. You will use it to pull your yarn through your stitches in your work.
Stitch Markers
Stitch markers are little clip on pieces that help you identify a stitch for various reasons. Some patterns call for them and sometimes it’s just helpful to know which stitch is your first/last stitch (I also use them when I’m in the middle of a project and have to stop to keep my work from unraveling).
You can buy stitch markers, or you can use items you already have: many people have had success using bobby pins and a spare end of yarn in a contrasting color was probably the original stitch marker and still works just fine, so don’t go thinking you HAVE to buy these- mine came in my crochet hook set, so you can always look for that option as well
Scissors
You need something to cut your yarn at the end of your project or if you have color changes. A pair of office or kitchen scissors will work, although you may want to designate a pair to remain with the rest of your crochet supplies. I found this cute little set at Hobby Lobby and I really liked it because not only is it small enough to fit into my hook bag, it has a little guard on it that has some resistance to get it off, so my boys can’t get into it super easily if they find it when I’m not looking.
Tape Measure
You will need to measure your gauge on many projects. You could also get a special gauge measuring tool, but at the beginning, a tape measure should work fine. It can also be used it for measuring your works to ensure proper fit or dimensions.
Stitch or row counter
To count stitches or rows, you can use a stitch counter. This is not a strict necessity but more of a “it’s handy to have” item. Note: I have this and rarely use it. If I’m following a pattern, I mark off the rows I’ve completed on the pattern. If not, I just count the rows..
Alright, well there you have it! These are the items you need to begin your first project. What will your first project be? Next post, we’ll cover the very basics of crocheting; how to hold your hook and yarn, slip knots, chaining, and single crochets.